


Testing live streaming solutions
This page contains useful guides and information on how to perform proper tests and evaluations of different live streaming functionalities. To properly assess the performance of a CDN, the main challenges in video delivery must be considered, namely sync, resilience, latency, and quality.
Why testing is necessary
Network performance is usually non-perfect and introduces latency, packet loss, and jitter – regardless of whether the viewer is using a mobile connection or home wifi. The connection the viewer is using is often called the last mile and is outside of your control. Therefore, any solution must mitigate the conditions that could reasonably be expected as this is what your viewers will see, or at least a reasonable approximation.
General test information
Evaluating latency
Open the Vindral Live demo
Open demo.vindral.com on the device of your choice.
Apply settings
Choose a video quality in the quality-control section, as well as buffer size. When choosing 4K quality, the 4K mark at the bottom right of the stream becomes visible when activated.
Perform visual latency test
(The latency test injects your visitor ID into our encoder in Sweden, which then inserts a graphic element with the ID, into the stream. Vindral Live’s frame-accurate cue point system then catches the event when your ID is displayed in the stream to measure the latency. Note that it is not a web page overlay, but a part of the live video.)
Perform audible latency test
Click the button to perform the audible latency test. This test will inject a beep sound.
Adjust settings, repeat
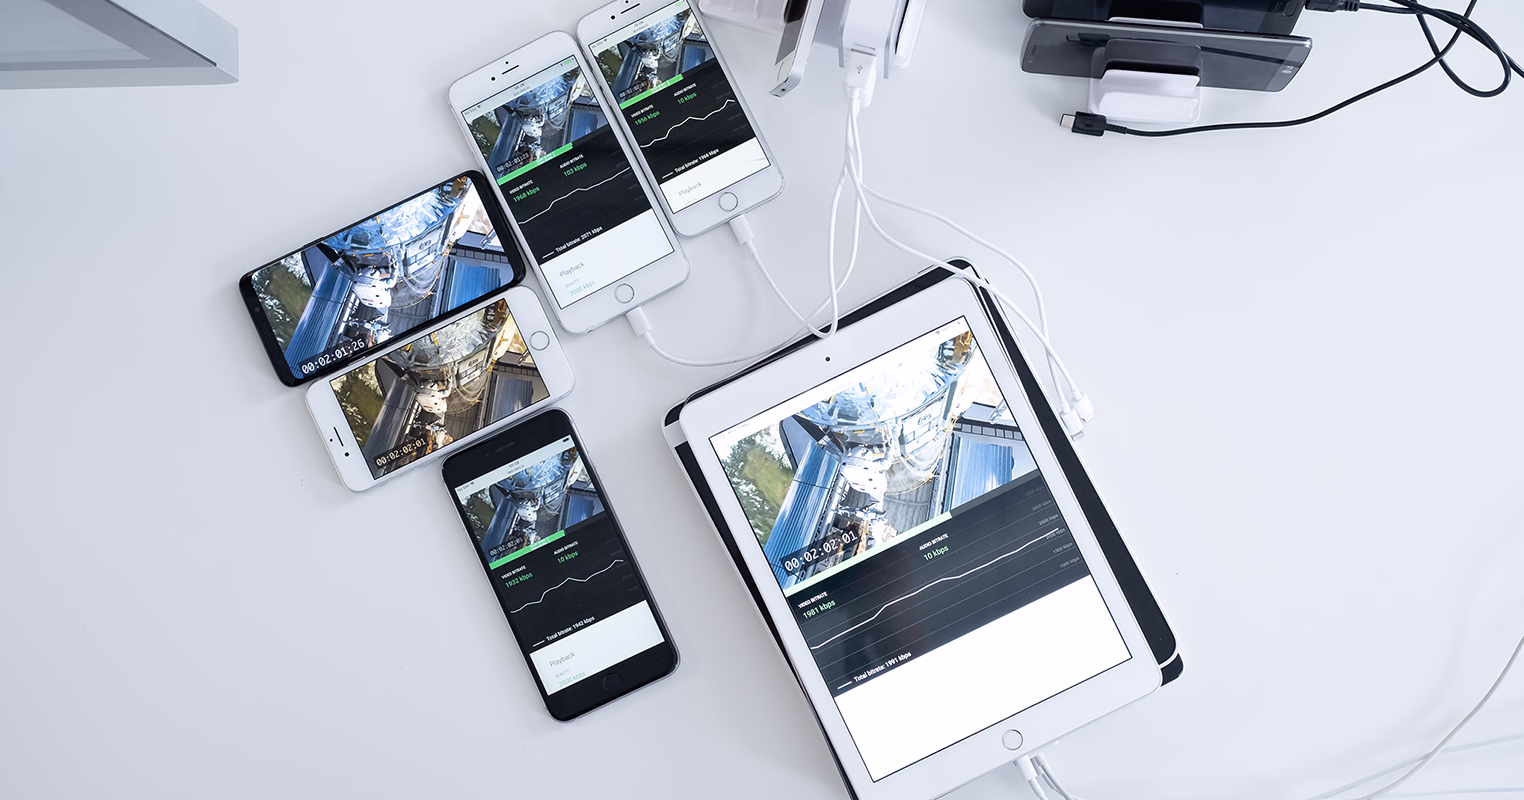
Evaluating synchronization
Open the Vindral Live demo
Open demo.vindral.com on at least two different devices.
Turn off WiFi
If on a smartphone, turn off the WiFi, as that will force the signal to take another route compared to the computer.
Apply settings
Make sure you have the same buffer settings on all devices and that sound is enabled / volume is up.
Perform audible latency test
Click the button to perform the audible latency test. This test will inject a beep sound. Hear the synchronization in audio playout.
Compare in-stream clocks
Compare the time on the in-stream clocks and the picture, for an accurate value on time difference between devices.

Compare technologies
Compare with competing technologies
Evaluating stability
Get a network shaper
A network shaper can be used to induce a reasonable amount of jitter, latency, and packet loss.
If you are using a PC with Windows, download NetBalancer. We recommend using the paid version as it enables the testing described in this guide. Install NetBalancer in the location of your choice.
If you are using macOS, the free software XCode has an add-on called Network Link Conditioner, which can be used to induce delay and drops. However, adding jitter is not possible so using NetBalancer on a PC is strongly recommended instead as jitter is crucial to accurately emulate network congestions. Download XCode , and find the add-on in “Additional Tools for XCode” on the Apple Developers page .
Launch the network shaper
Run the browser of your choice and visit the stream player that you wish to evaluate (recommended at least 2Mbps). With the browser running, launch your network shaper and identify the browser process.
Apply network shaping
When you have identified the process (that runs the stream, such as the Chrome web browser), apply the following network profile:
Observe the stability
Observe any drifts in latency, synchronization issues and/or any buffering or other audio/video artefacts.
Compare technologies
Compare with competing technologies
Let’s succeed together!
Register a test account to try it out for yourself.
Please contact us if you have any questions.